Composting at Home
Food scraps and yard waste is projected to be about 40% of the waste stream. Composting at home is one of the easiest and best ways to keep this food from entering the landfill. Composting at home:
- Keeps food and yard waste out of the landfill
- Creates a nutrient-rich soil amendment
- Is low-cost (or free!)
- Can be tailored to fit various living arrangements
- Is fun and a great way to learn more about our natural world
The two most common composting methods are hot composting and vermicomposting (worm bins).
Remember, all compost systems have the same basic ingredients:
- “Browns” or Carbon, from dead and dry plant material like paper and dried leaves.
- “Greens” or Nitrogen, which is abundant in food scraps and yard waste.
- Decomposers, including worms, bacteria, fungi, and other invertebrates.
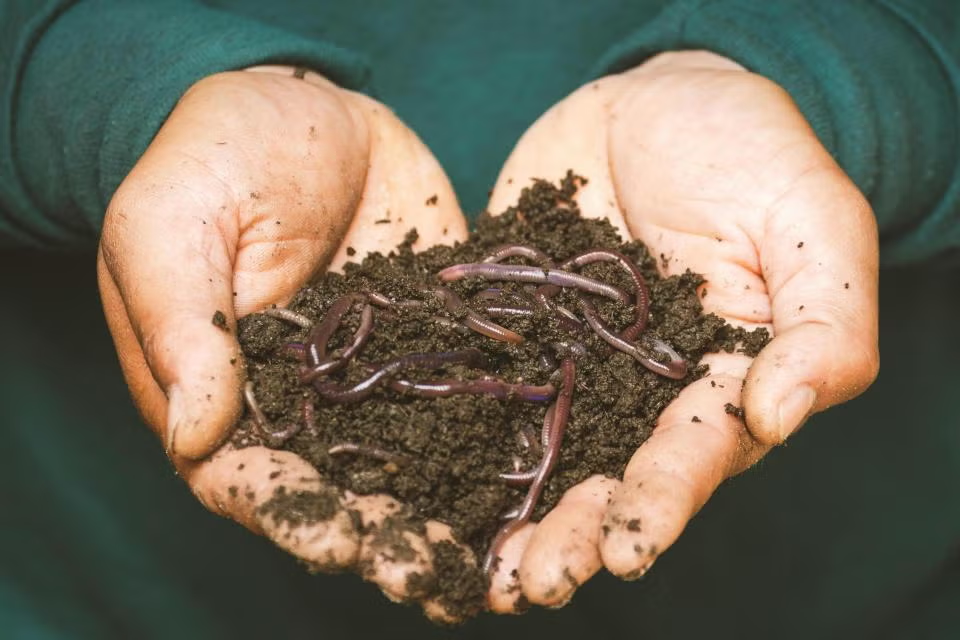
Composting with Worms
Step 1: Find a location. Put it where you’ll use it! Examples include garages, shaded patios, or under a kitchen sink. A healthy worm bin won’t smell.
Step 2: Pick a container. It must be opaque and durable. DIY worm bins are easy and low cost, i.e. 5-gallon buckets or plastic totes. Simply add ventilation holes. You can also purchase a pre-made bin.
Step 3: Get worms! Red Wigglers are most common and can be purchased online or in garden supply stores. Place the worms in their new home and add shredded paper, coconut coir, or torn cardboard as “bedding.”
Step 4: Feed your worms right away. They are hungry! Add a carbon source at each feeding. The ratio should be one part food to three parts carbon. Start slowly and work up to large amounts of food.
Step 5: Harvest! After a few months you’ll have lots of castings. Castings can be added directly to the soil or steeped in water to create a soil amendment. Enjoy the “liquid gold!”
This is also called aerobic composting, or composting with oxygen. Hot compost piles rely on heat, oxygen and microbial activity to break down food. The heat comes from chemical and biological reactions happening at the microscopic level of your compost pile.
Hot compost piles start off by combining carbon and nitrogen. These two elements kick-off the decomposition cycle. Natural bacteria, fungi, and other invertebrates help speed this process up. The decomposition cycle needs oxygen, or else you’ll create methane gas (see our page on GHGs from food waste here). Therefore, you need to “turn” your compost frequently to oxygenate the pile.
Hot compost needs to be outside with a lot of space. You also need tools, like a shovel or pitchfork, to turn the pile.
Here are a few steps to get you started:
Step 1: Choose where you want your pile to go. This spot should be unpaved, flat and shady or partly shady. Access to water is also helpful, but not required. Aim for an area of at least 3 sqft.
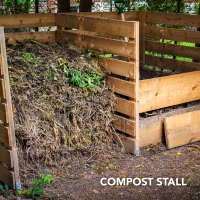
Step 2: Build a structure.
Some folks have success having their compost pile exist in the open. However, it’s recommended that you build a structure to contain your pile. This structure will keep the pile “tight” and hold heat in. It also deters pests.
A common method for building a hot compost structure is to stand three wooden pallets on their sides and connect them forming a “U” shape. Other scrap wood will also do the trick. You can also purchase prefabricated compost stalls or build plans online.
Step 3: Feed your pile! Start adding your food scraps and yard waste to your compost pile. These materials are the “greens.” Every time you add “greens” you need to add “browns.” The ratio should be one part “greens” to at least two parts “browns.”
Step 4: Add Oxygen. Every time you feed your pile, you should “turn” your compost to oxygenate it. Simply shuffle the pile around to mix it thoroughly.
Step 5: Add water (as needed). Add water to your pile to keep it moist. The pile should be as moist as a wrung-out sponge. If the pile is too moist, add more Carbon. Water benefits the decomposers and helps hold heat in.